Table of Contents
Are you tired of riding your traditional bike and looking for a more convenient and efficient mode of transportation? If so, you might want to consider converting your bike into an electric bike using conversion kits. Electric bike conversion kits can help you save money, improve your cycling experience, and reduce your carbon footprint. In this article, we’ll discuss the basics of electric bike conversion kits, their benefits, and the steps involved in converting your traditional bike into an electric bike.
What are Electric Bike Conversion Kits
Electric bike conversion kits are devices that allow you to convert a traditional bicycle into an electric bike. They are becoming increasingly popular as more people seek an eco-friendly and affordable alternative to cars for transportation. The conversion kit typically includes a motor, battery, and controller, which are attached to the bike frame and provide electric power to the wheels. With an electric bike conversion kit, you can enjoy the benefits of an electric bike without having to purchase a brand-new electric bike. These kits come in different sizes and styles, and they can be easily installed by following the instructions provided with the kit.
Benefits of Electric Bike Conversion Kits
Electric bike conversion kits can transform your traditional bike into an electric bike and provide numerous benefits, such as:
- Cost savings: Electric bike conversion kits are less expensive than buying a new electric bike. You can save money by converting your existing bike rather than purchasing a new one.
- Improved cycling experience: With an electric bike, you can ride longer and faster, climb hills easily, and reduce your effort and sweat.
- Environmental benefits: Electric bikes are eco-friendly and produce no harmful emissions, making them a sustainable mode of transportation.
Types of Electric Bike Conversion Kits
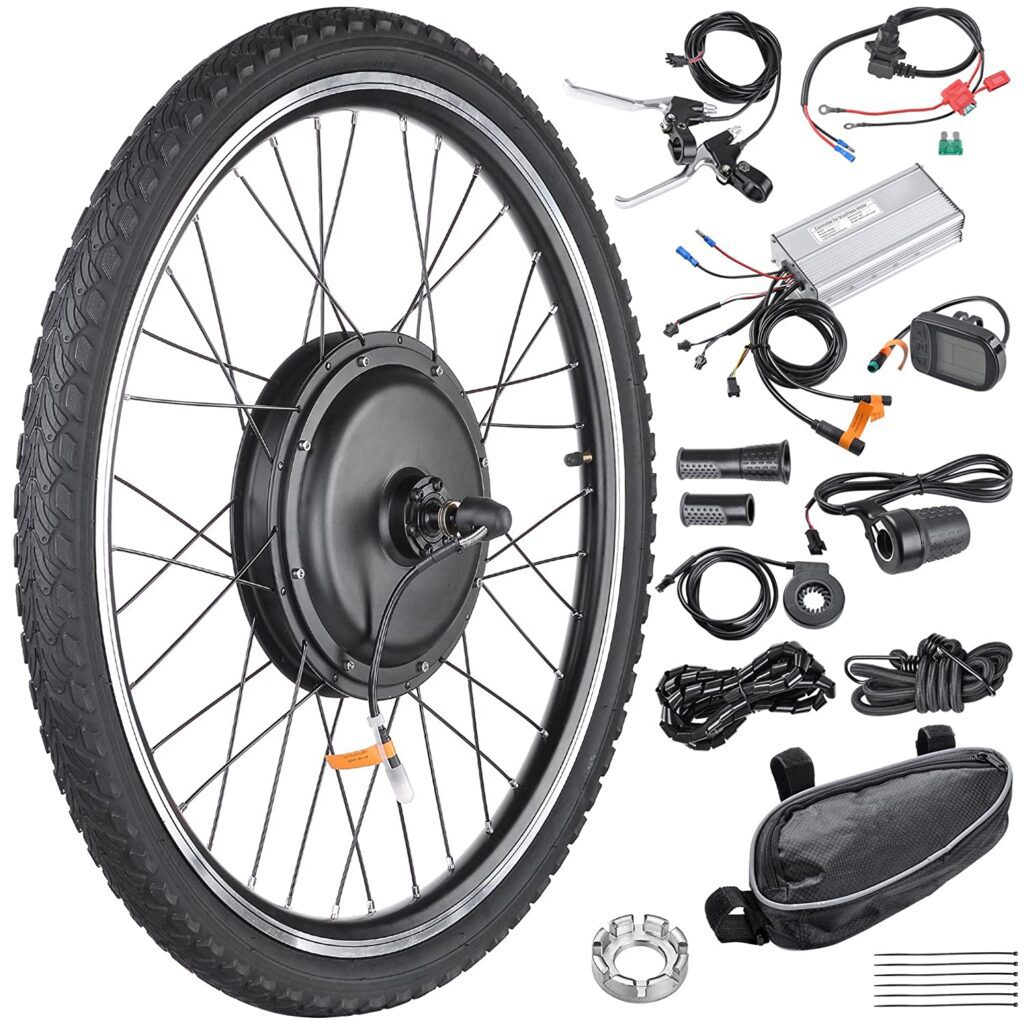
There are two types of electric bike conversion kits: front-wheel and rear-wheel conversion kits.
- Front-Wheel Conversion Kits: Front-wheel conversion kits are the most common and easiest to install. They consist of a motorized wheel, battery, controller, and wiring. The motorized wheel replaces the front wheel of your bike, and the battery and controller are mounted on the frame or handlebars.
- Rear-Wheel Conversion Kits: Rear-wheel conversion kits are more powerful and provide better traction. They consist of a motorized wheel, battery, controller, and wiring. The motorized wheel replaces the rear wheel of your bike, and the battery and controller are mounted on the frame or under the seat.
Choosing the Right Electric Bike Conversion Kit
When choosing an electric bike conversion kit, consider the following factors:
- Compatibility with your bike: Make sure the conversion kit is compatible with your bike’s wheel size, frame, and brakes.
- Power: Choose a motor with enough power to meet your needs. Consider the terrain you’ll be riding on, your weight, and the weight of any cargo you’ll be carrying.
- Battery capacity: Choose a battery with enough capacity to provide sufficient range for your needs.
- Price: Conversion kits range in price from INR 10,000 to INR 50,000 or more. Choose a conversion kit that fits your budget and provides the features you need.
Installation Process of Electric Bike Conversion Kit
Converting your traditional bike into an electric bike can seem daunting at first, but with the right tools and instructions, it can be a straightforward process. The installation process involves four main steps: removing the wheel, attaching the motor, installing the battery, and connecting the wiring.
1. Removing the Wheel
The first step in installing an electric bike conversion kit is to remove the wheel from your traditional bike. You’ll need to remove the tire and inner tube from the wheel as well.
- Loosen the nuts or quick-release mechanism on the wheel axle using a wrench or Allen key.
- Lift the bike off the ground and remove the wheel from the bike frame.
- Remove the tire and inner tube from the wheel using tire levers.
2. Attaching the Motor
After removing the wheel, you’ll need to attach the motor to the bike frame. The motor is typically attached to the rear wheel of the bike, but it can also be attached to the front wheel.
- Align the motor with the bike frame and secure it using the mounting brackets provided with the conversion kit.
- Ensure that the motor is securely fastened to the frame and the chain can run smoothly on the motor’s sprocket.
- Test the motor’s alignment by turning the pedals and observing the movement of the chain on the sprocket.
3. Installing the Battery
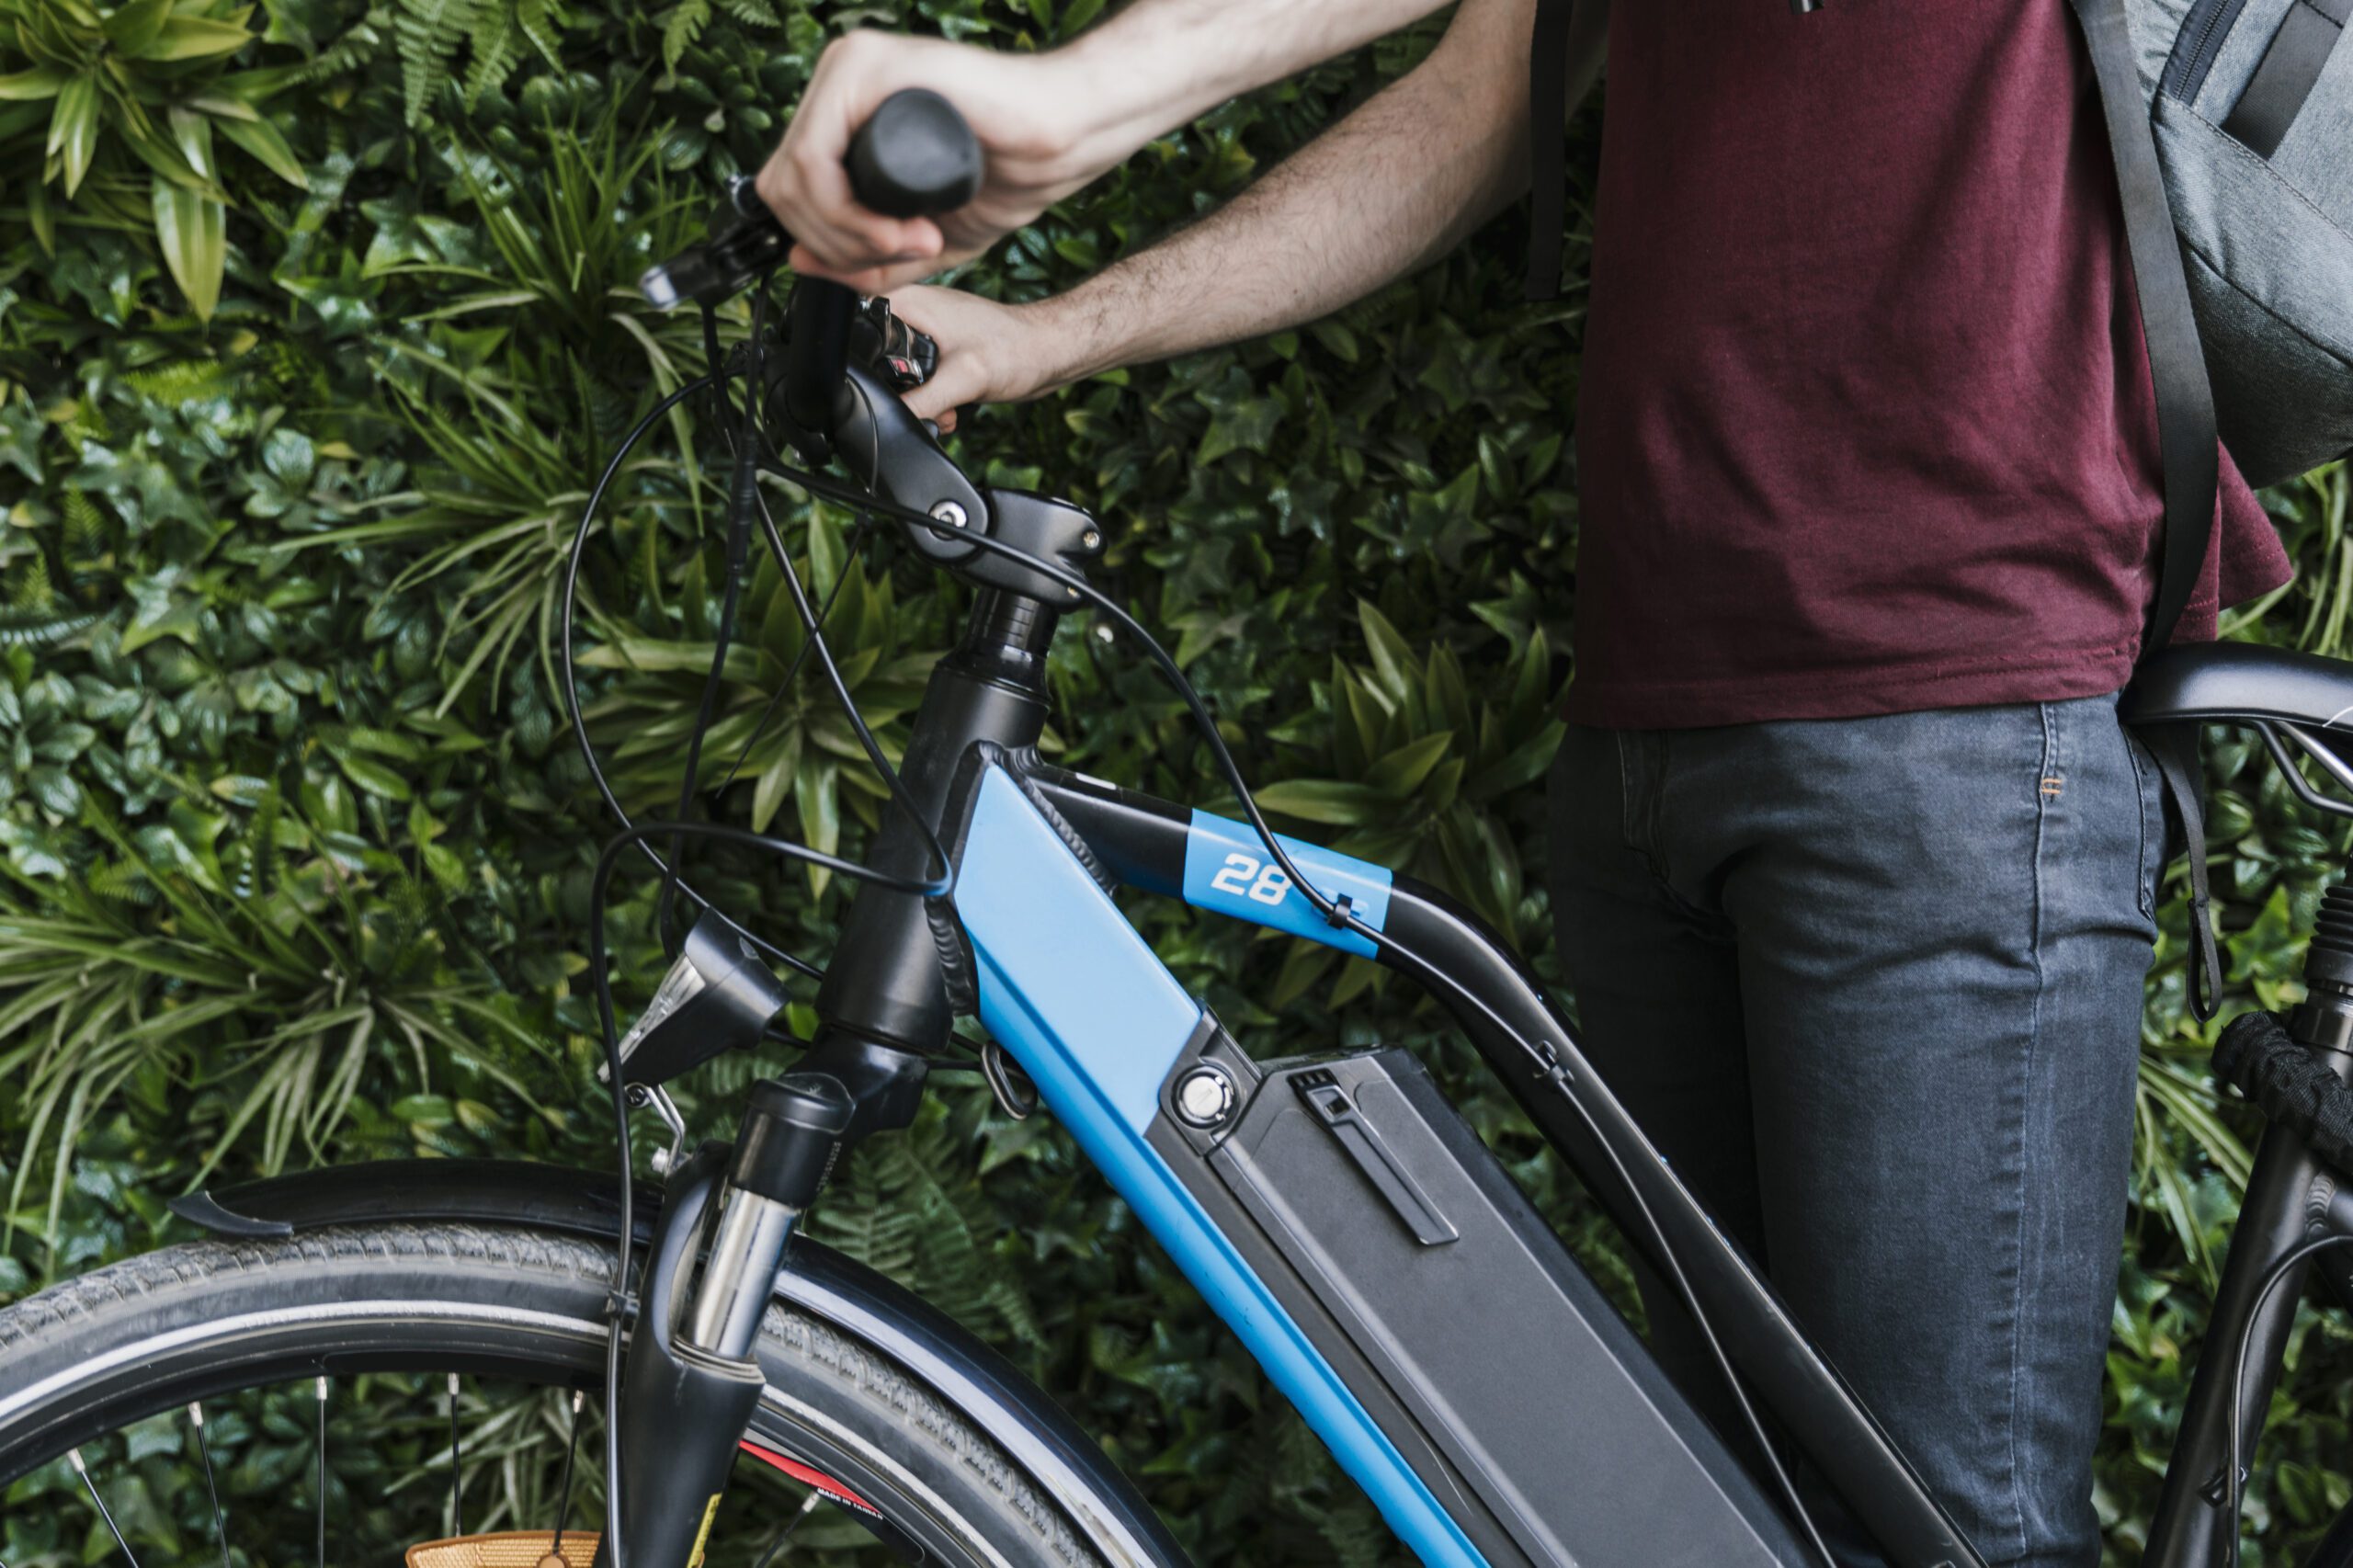
Once the motor is attached to the bike frame, the next step is to install the battery. The battery is usually mounted on the bike frame, either behind the seat post or on the down tube.
- Choose a location on the bike frame to mount the battery.
- Attach the battery mount to the frame using the screws or straps provided with the conversion kit.
- Place the battery on the mount and secure it in place using the locking mechanism provided with the kit.
4. Connecting the Wiring
After installing the motor and battery, the final step is to connect the wiring. The wiring connects the motor, battery, and controller, allowing the electric bike to operate.
- Connect the motor to the controller using the wiring provided with the conversion kit.
- Connect the battery to the controller using the wiring provided with the kit.
- Secure the wiring to the bike frame using zip ties or clamps.
- Test the wiring and connections to ensure they’re working properly.
Tips for Installing an Electric Bike Conversion Kit
Here are some tips to keep in mind when installing an electric bike conversion kit:
- Read the instructions carefully before starting the installation process.
- Use the right tools and equipment for the job.
- Ensure that the motor, battery, and controller are compatible with your bike’s wheel size, frame, and brakes.
- Test the motor and battery before riding the electric bike on the road.
- Follow the safety guidelines and regulations when riding an electric bike.
In conclusion, installing an electric bike conversion kit involves removing the wheel, attaching the motor, installing the battery, and connecting the wiring. By following the steps and tips provided in this article, you can easily install an electric bike conversion kit and enjoy the benefits of electric biking.
Maintenance and Care
To keep your electric bike conversion kit running smoothly and ensure its longevity, follow these maintenance tips:
- Keep the battery charged and avoid overcharging or undercharging it.
- Regularly clean the motor and battery to remove dirt and debris.
- Check the wiring and connections periodically to ensure they’re secure and functioning properly.
- Avoid riding in wet or muddy conditions to prevent damage to the motor and battery.
Legal Considerations
Before converting your traditional bike into an electric bike, be aware of the legal considerations, such as:
- Check the local laws and regulations regarding electric bikes and ensure your converted bike meets the legal requirements.
- Register your electric bike with the local authorities if required.
- Wear a helmet and follow the traffic rules and regulations.
Converting your traditional bike into an electric bike using conversion kits can provide numerous benefits, such as cost savings, improved cycling experience, and environmental sustainability. By following the steps and tips provided in this article, you can easily install an electric bike conversion kit and enjoy the benefits of electric biking. Remember to consider the legal and safety considerations before riding your electric bike on the road.
Frequently Asked Questions
The maximum speed of an electric bike conversion kit depends on the motor and battery capacity. Most conversion kits can reach speeds of up to 20 mph.
Installing an electric bike conversion kit can take a few hours, depending on your level of experience and the complexity of the kit.
Yes, you can still use your bike as a regular bike even after installing a conversion kit. Simply remove the battery and motor if you want to ride your bike without electric assistance.
No, not all bikes are compatible with electric bike conversion kits. Make sure to choose a conversion kit that’s compatible with your bike’s wheel size, frame, and brakes.
The battery life of an electric bike conversion kit depends on the battery capacity and usage. Most batteries can provide a range of 20-30 miles on a single charge.
Related Posts








Leave feedback about this